After:

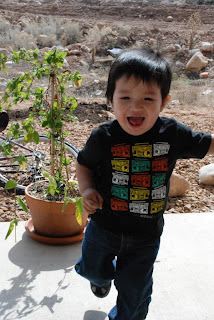
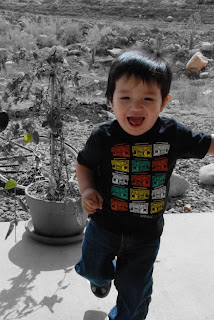
In order to accomplish this look, I duplicated the orginal photo and sharpened it's color. I again duplicated the previous copy and changed the Hue/Saturation to have the photo take a black and white appearance. I merged the two copies, erased the objects that I wanted to have color.
Before: After:


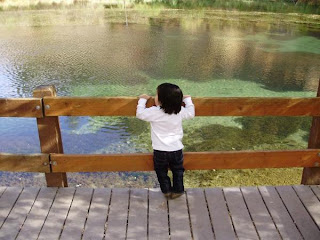
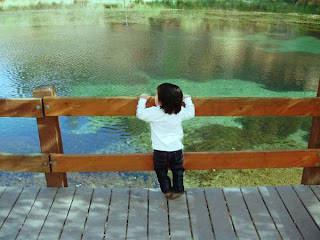
In this photo, I wanted to create an emphasis on the water. To accomplish this, I used the channel mixer to play with the red, green, and blue channels. I than used the levels selection to enhance the shadows in the photo. In another duplicated layer I brightened the whites. I erased the shirt section to expose the brighter shirt.

No comments:
Post a Comment